
 Image 1 of 12
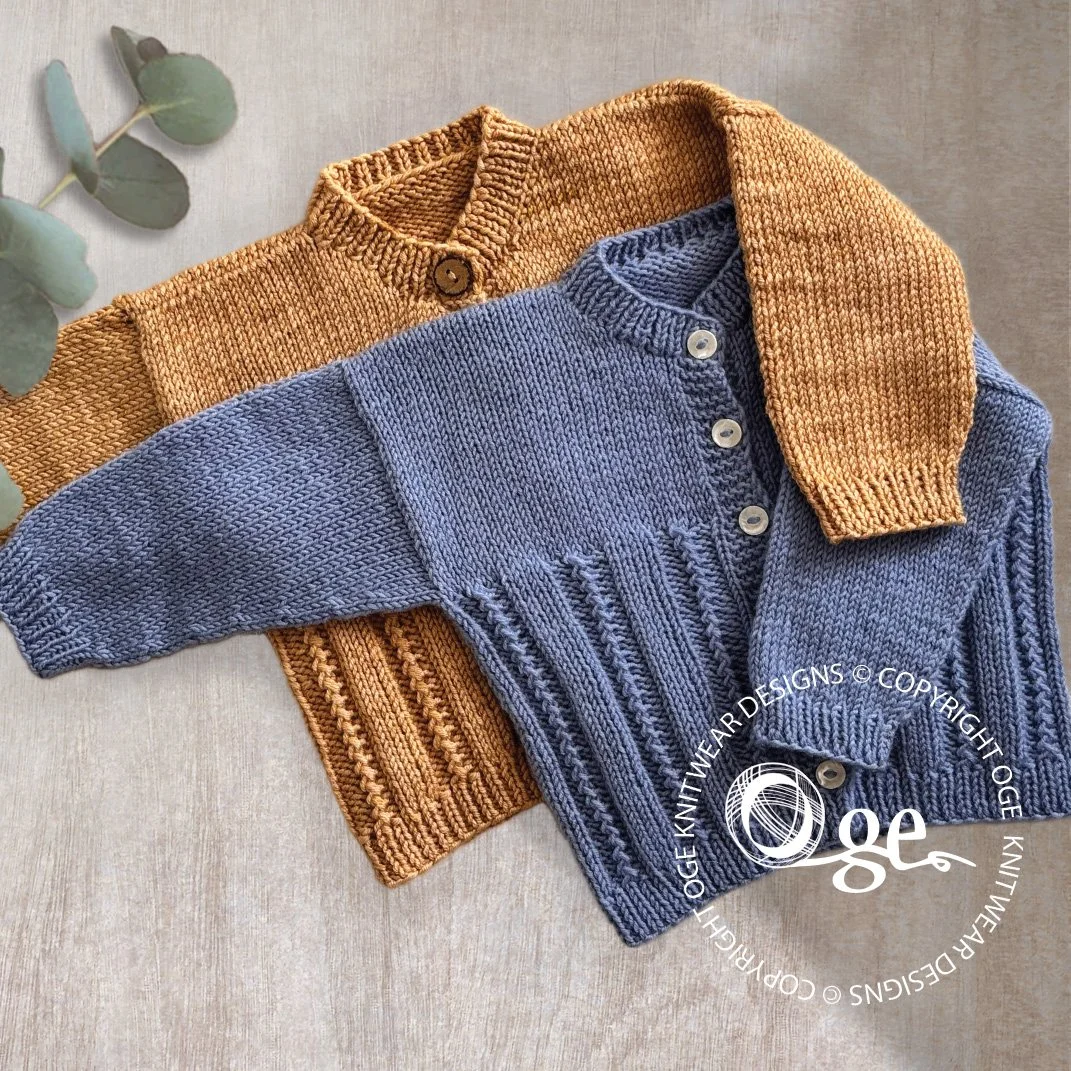 Image 2 of 12
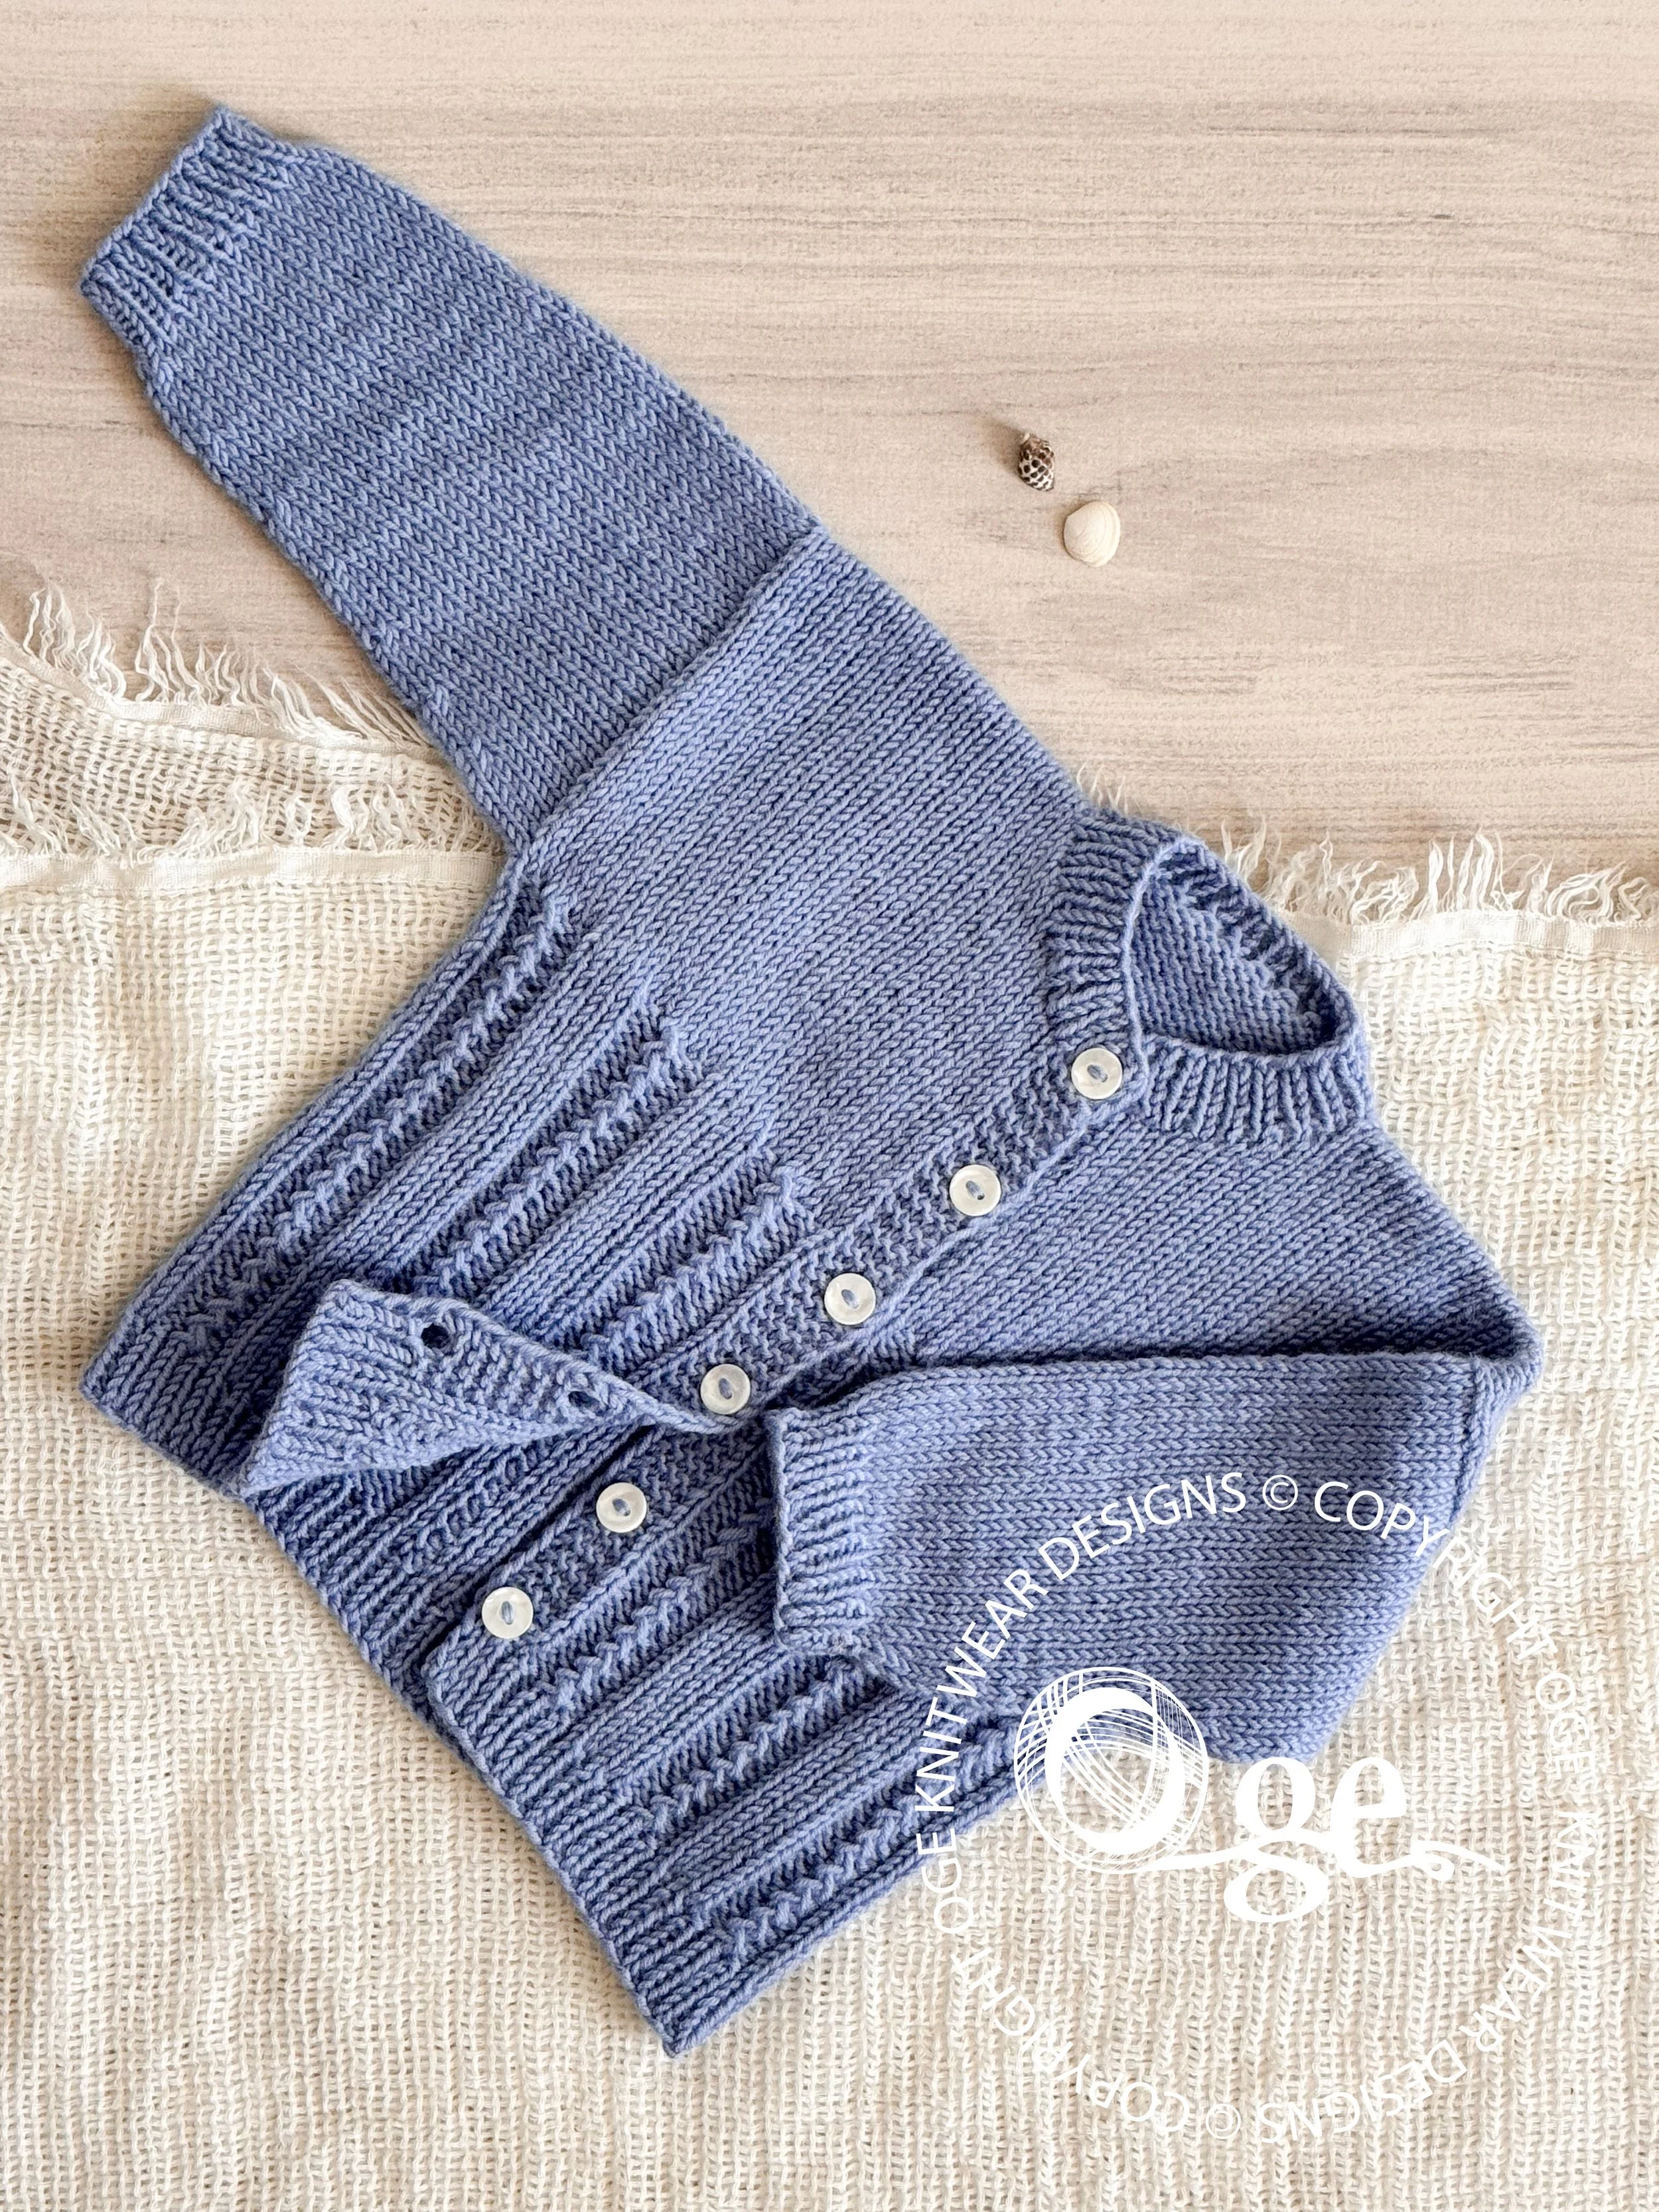 Image 3 of 12
 Image 4 of 12
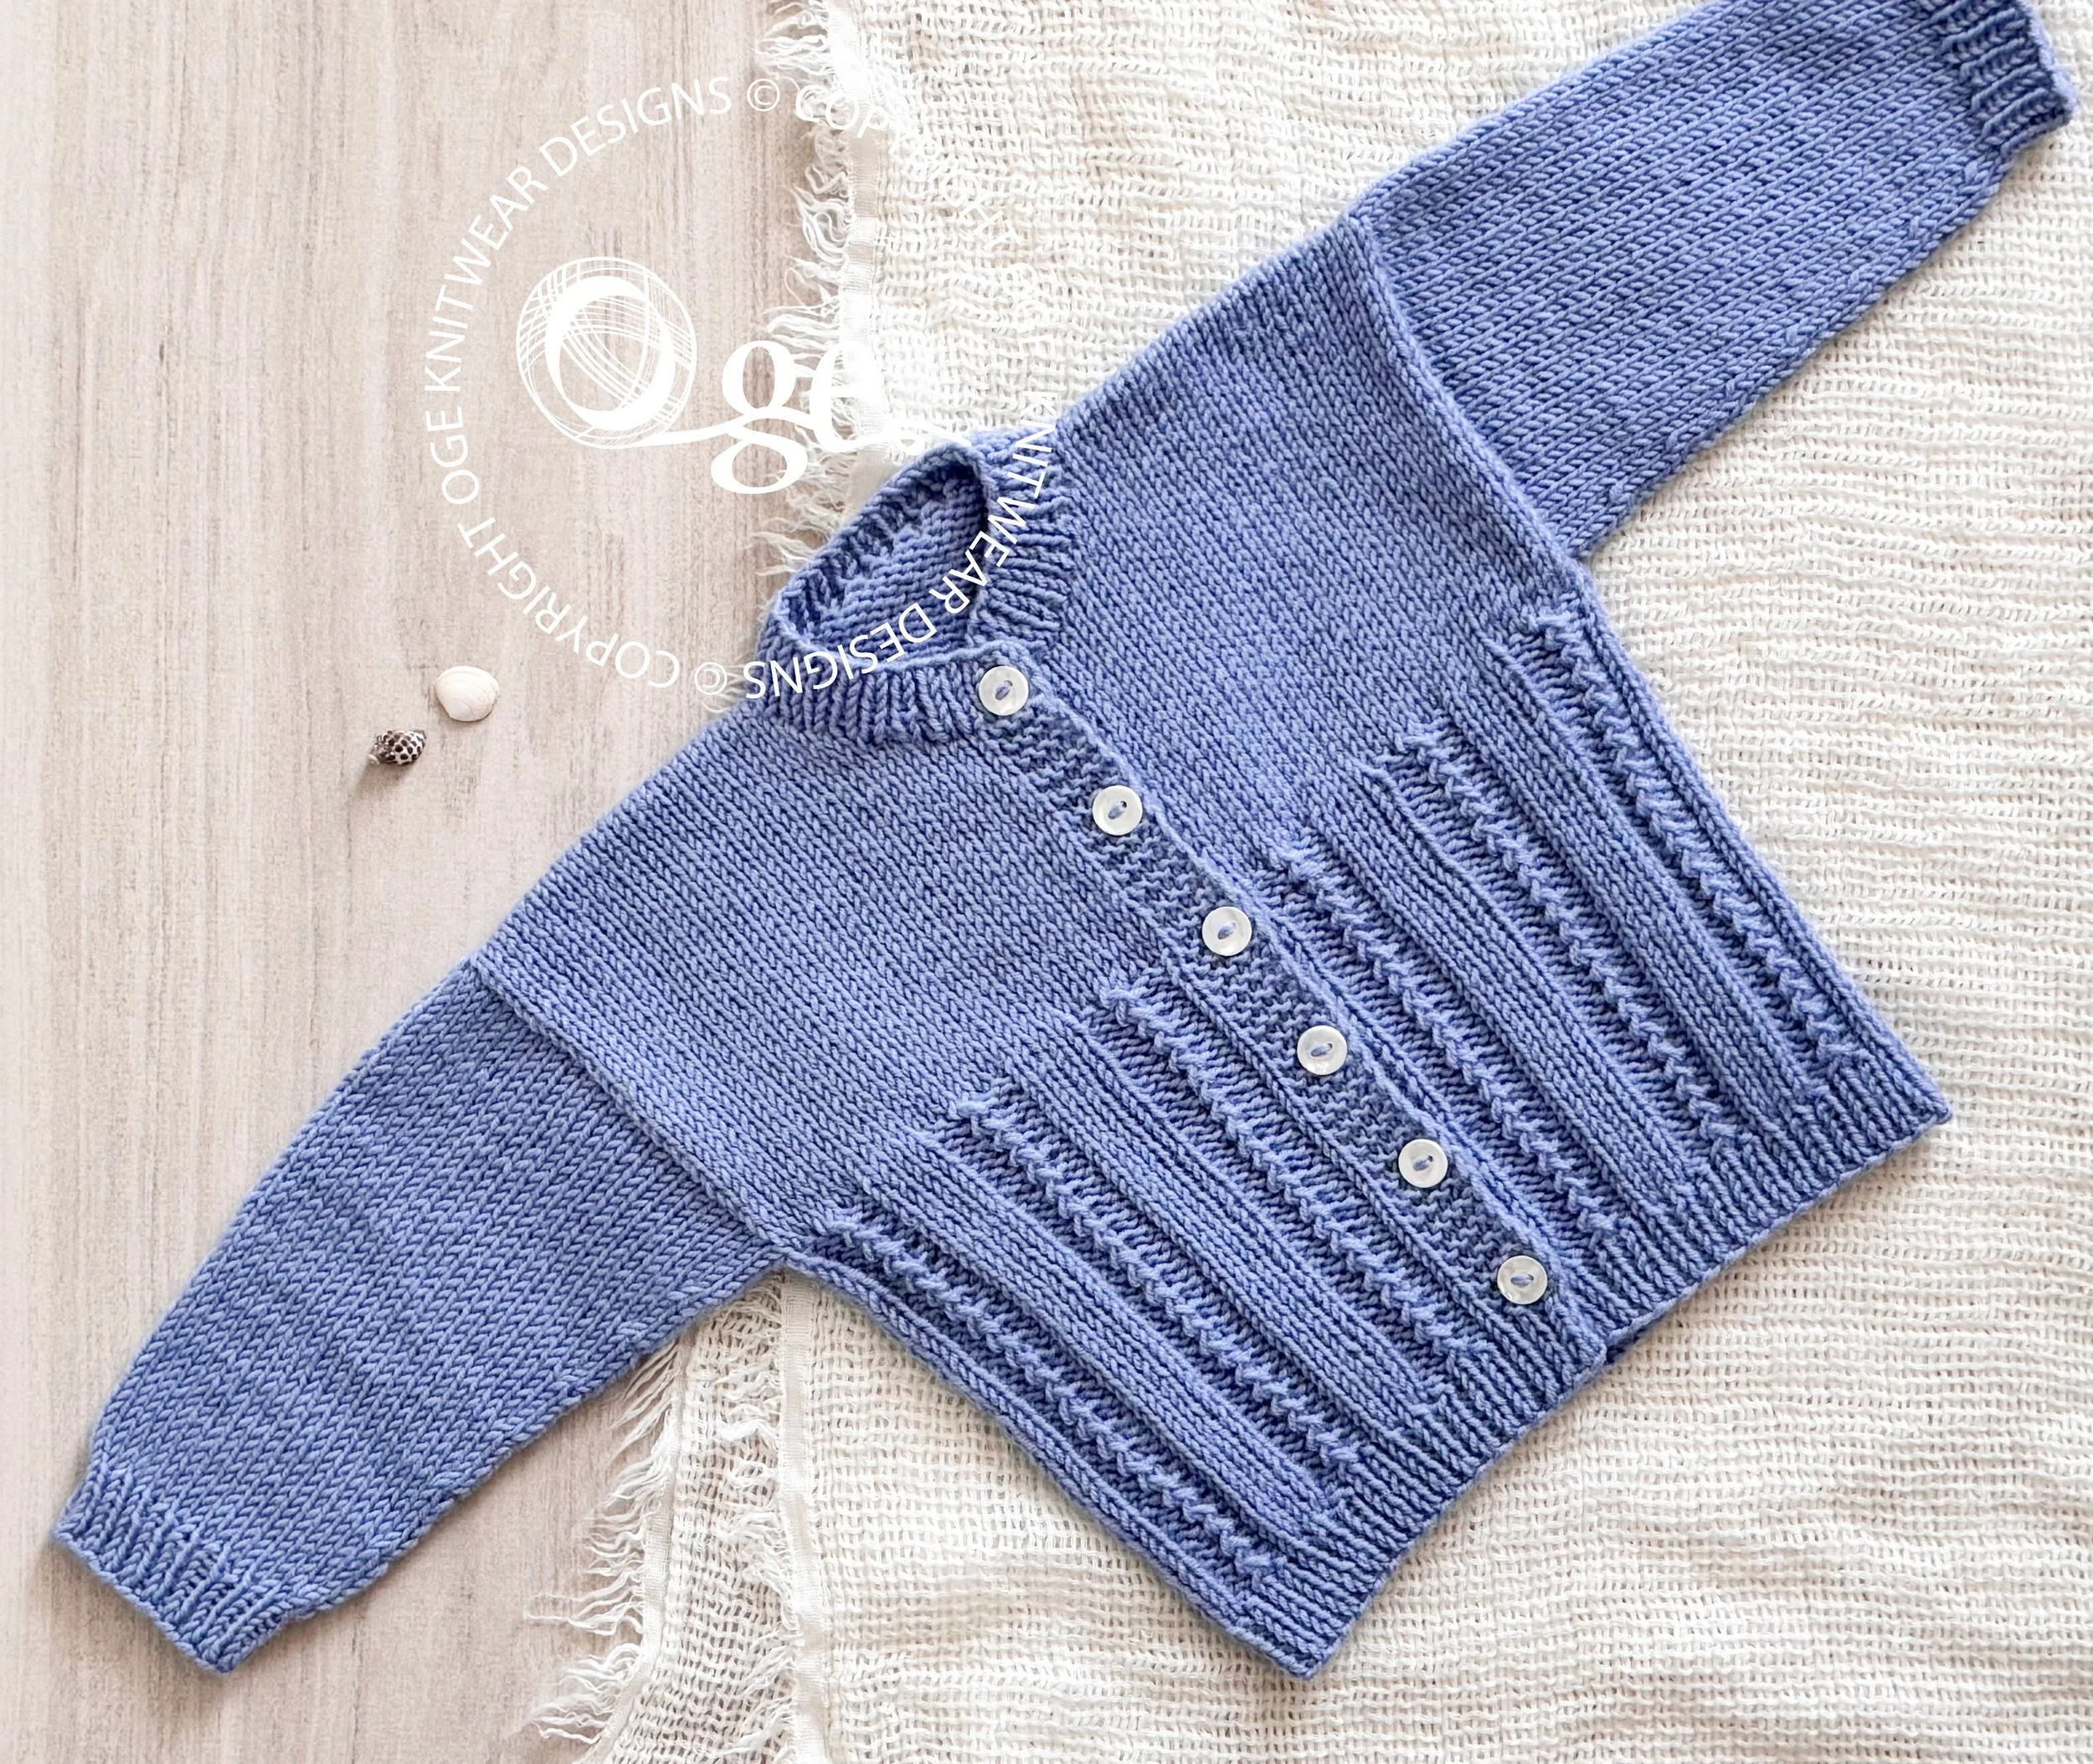 Image 5 of 12
 Image 6 of 12
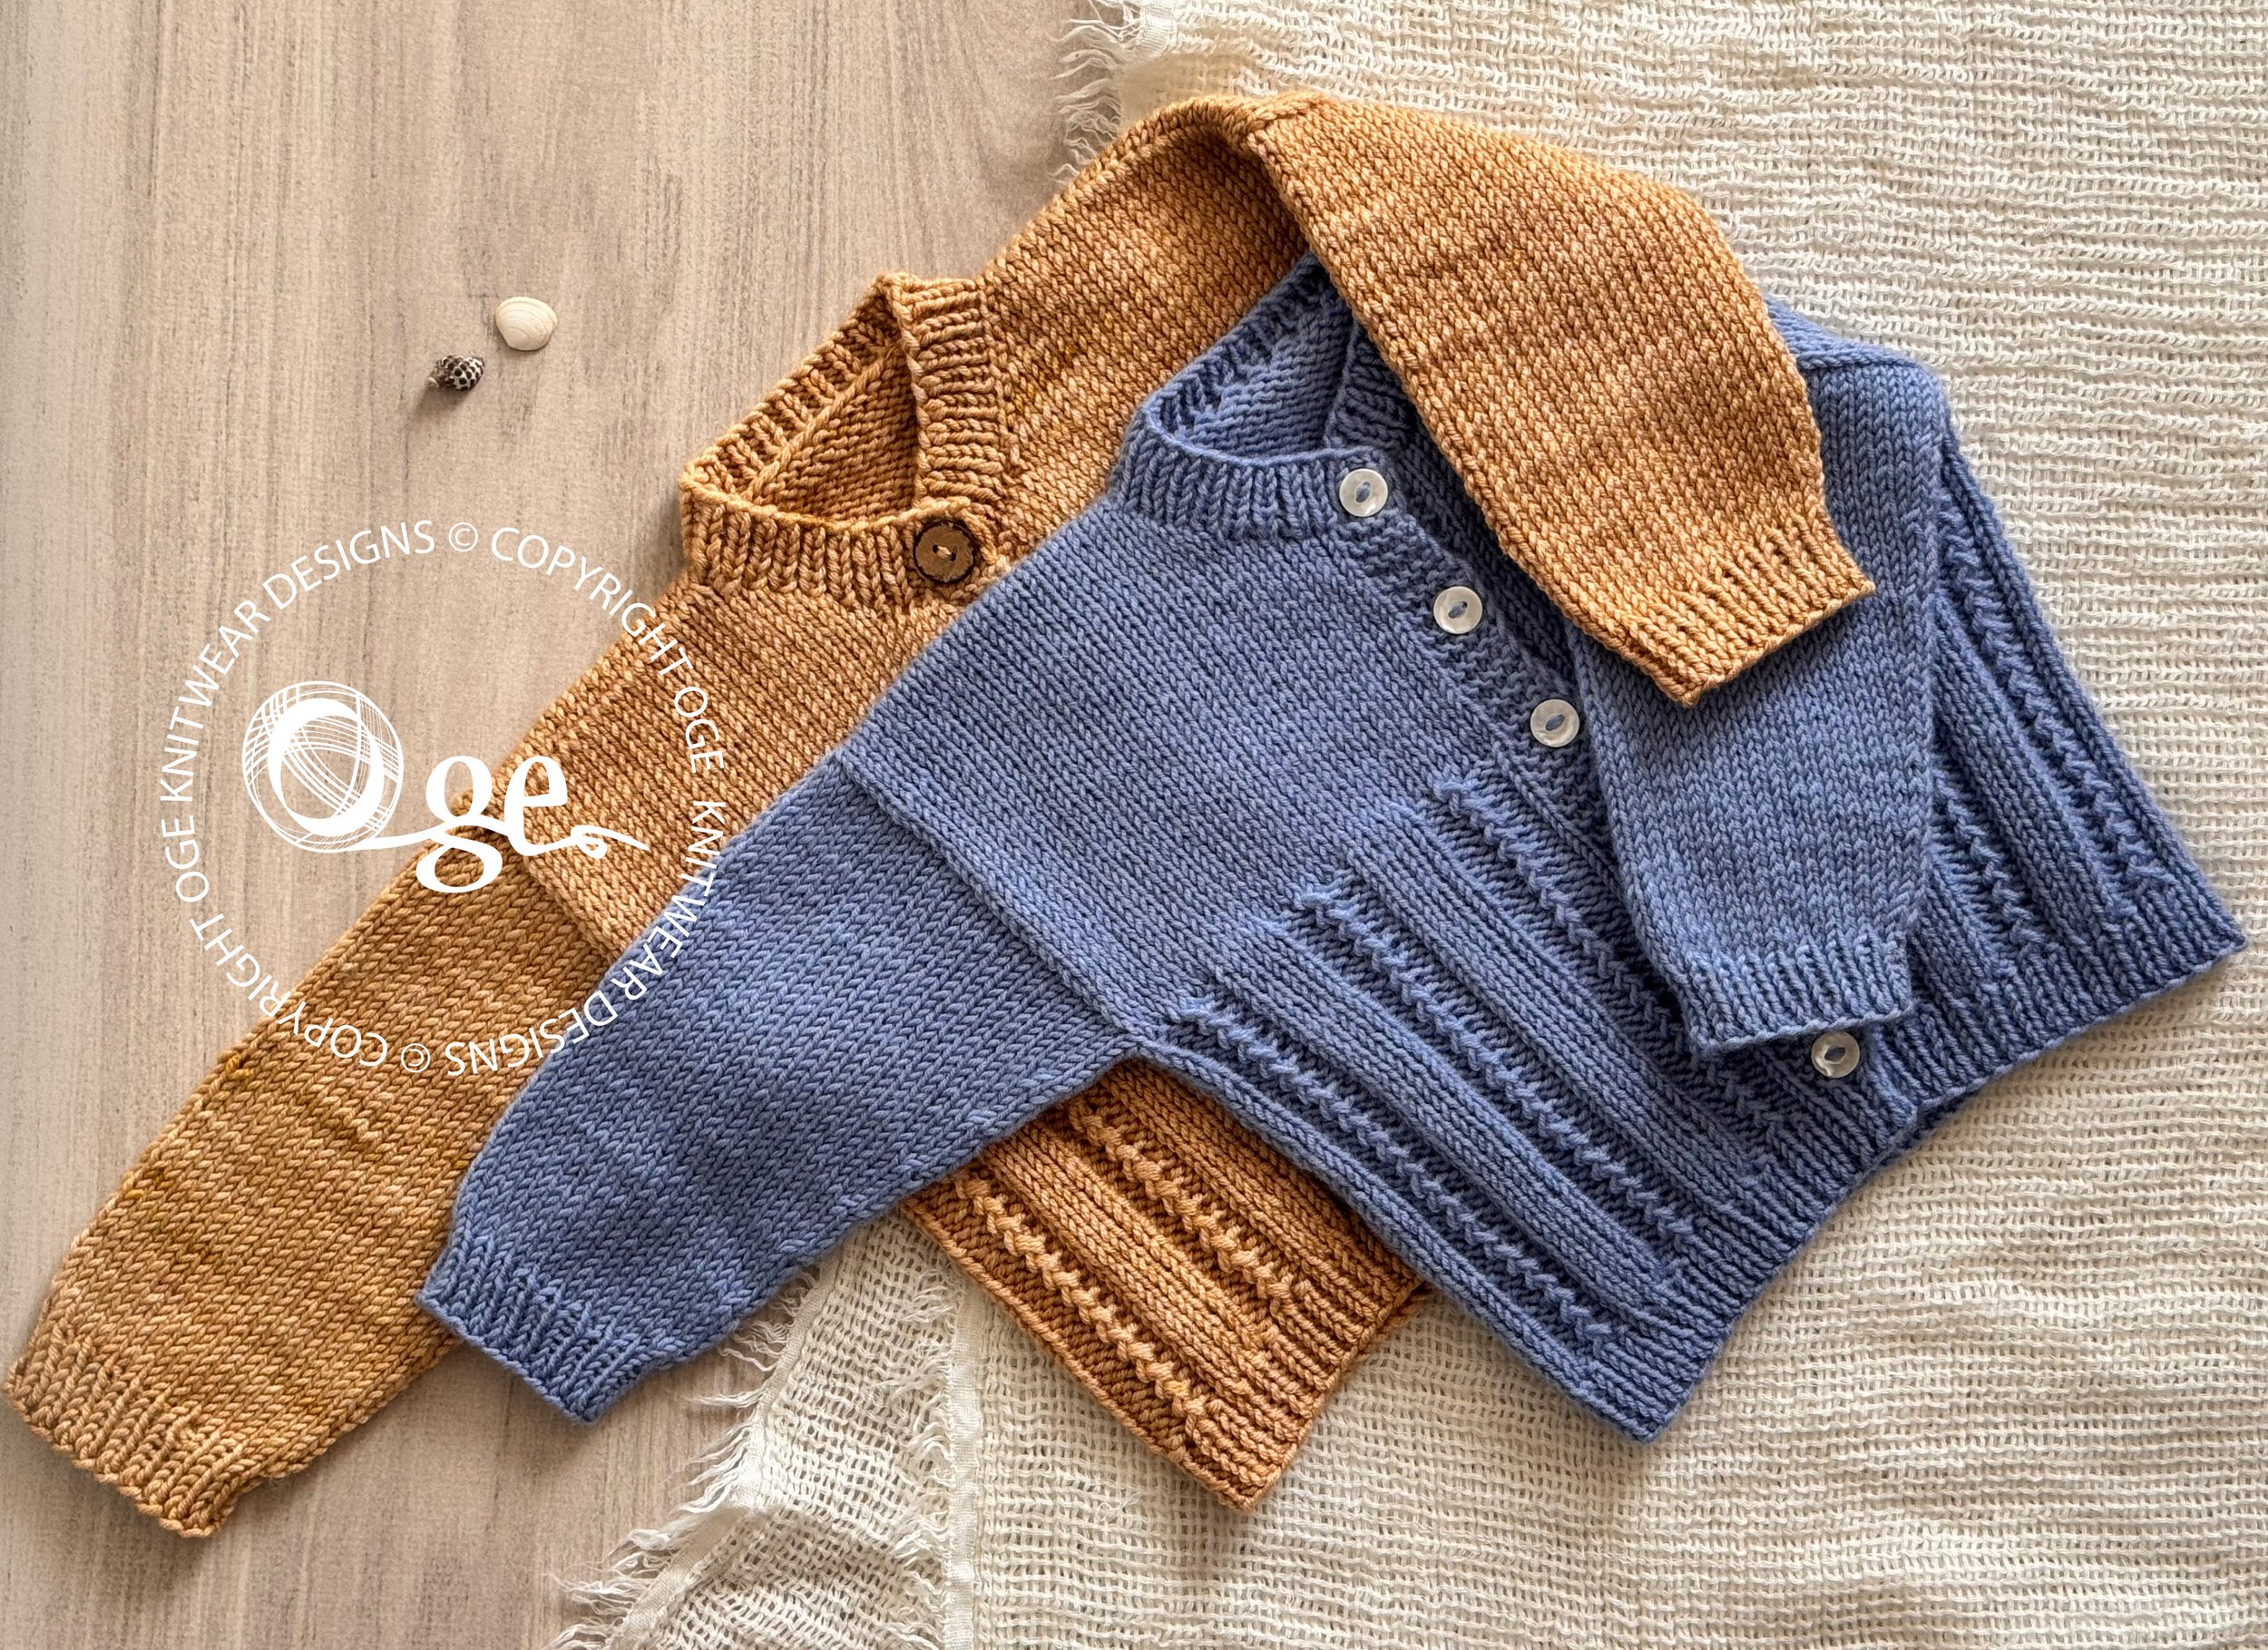 Image 7 of 12
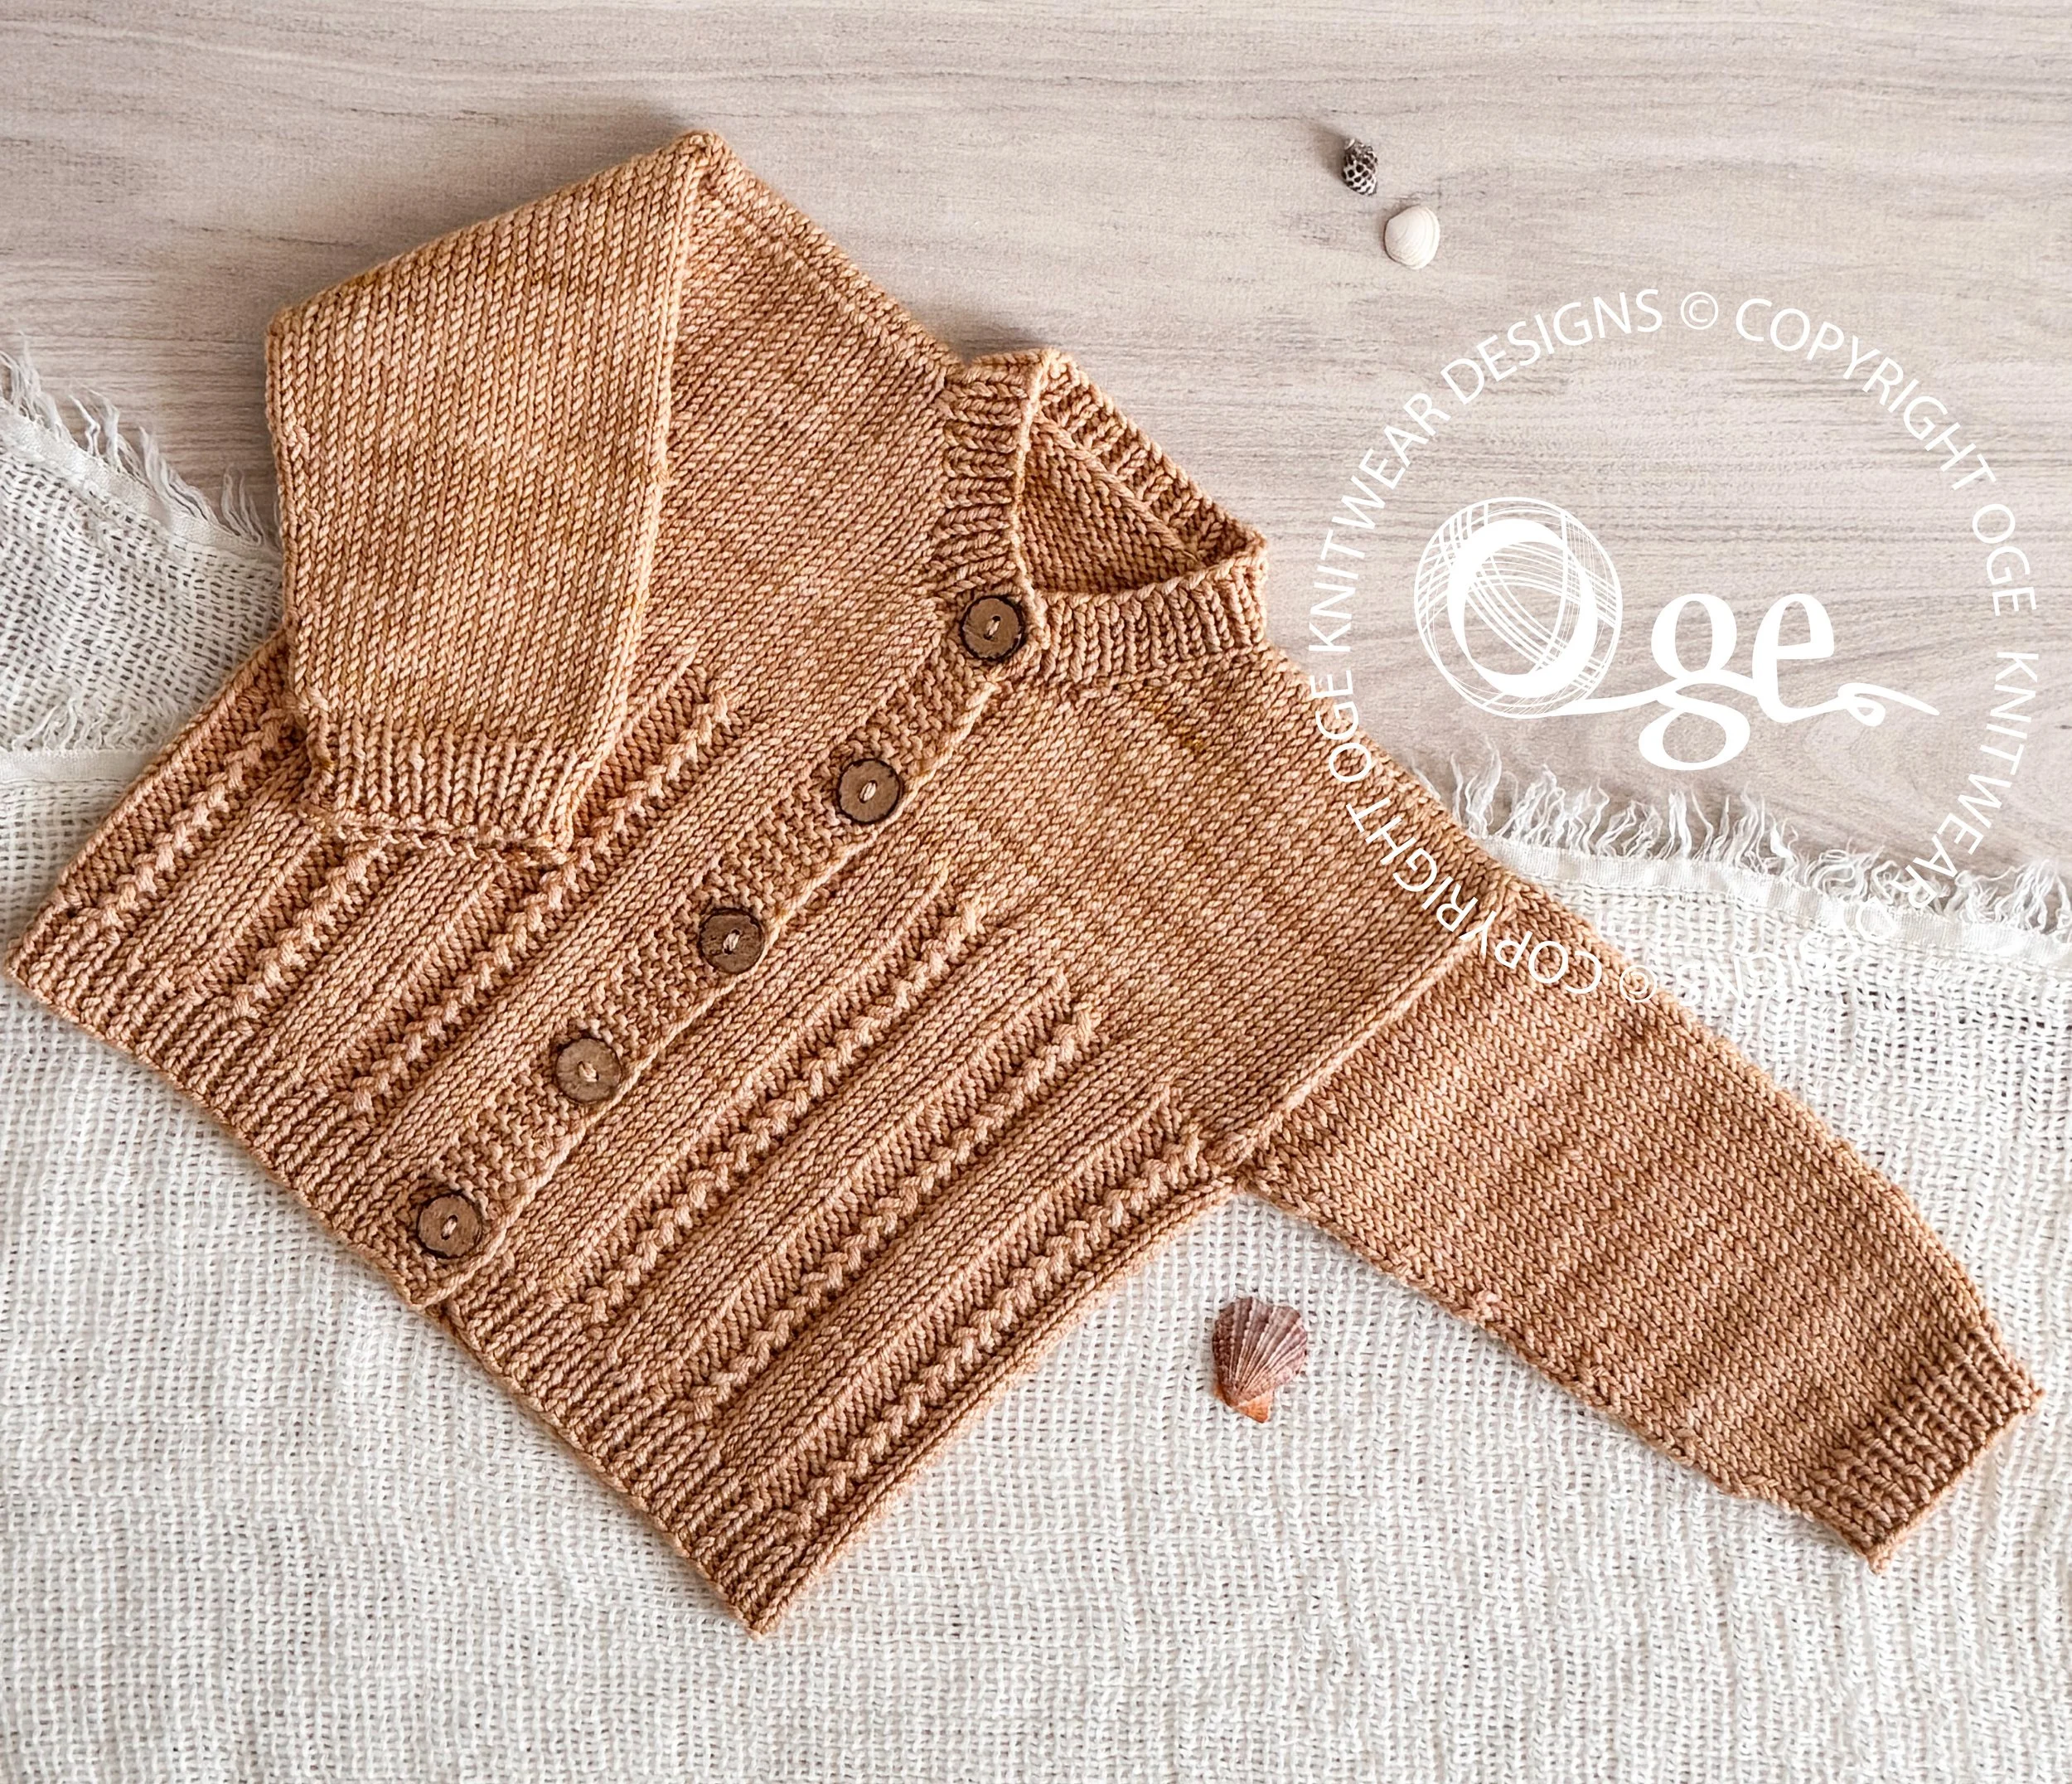 Image 8 of 12
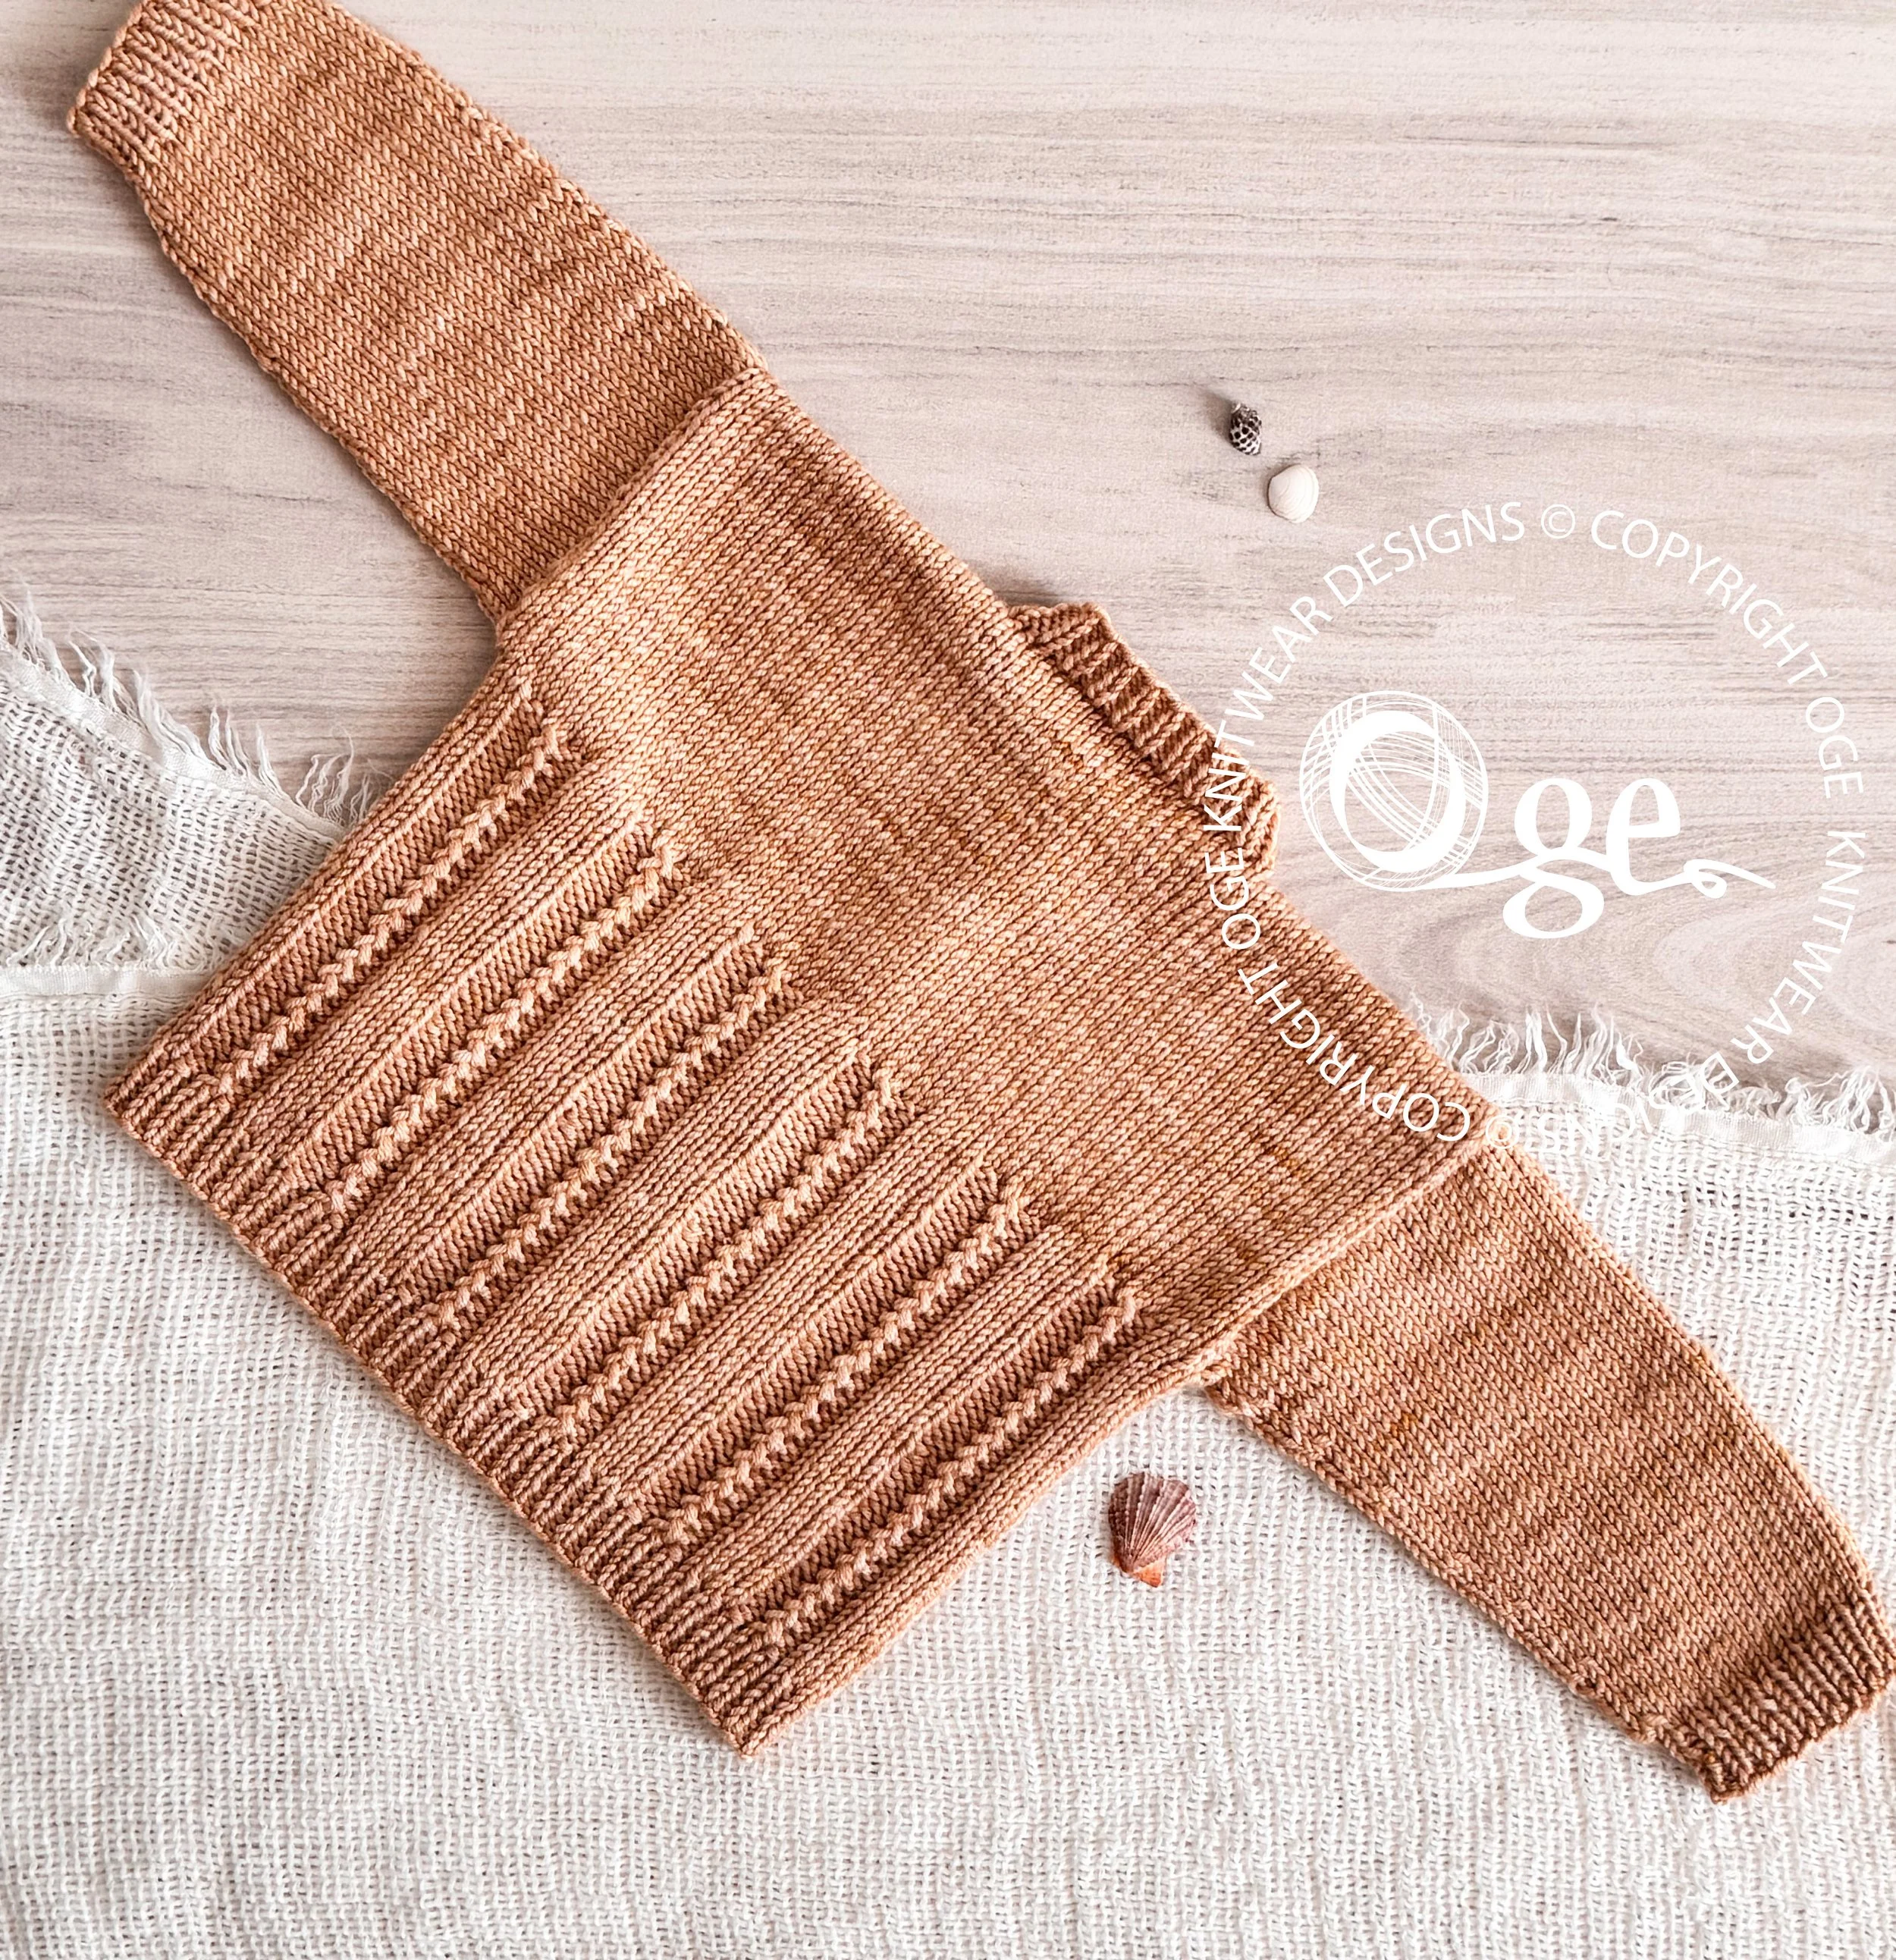 Image 9 of 12
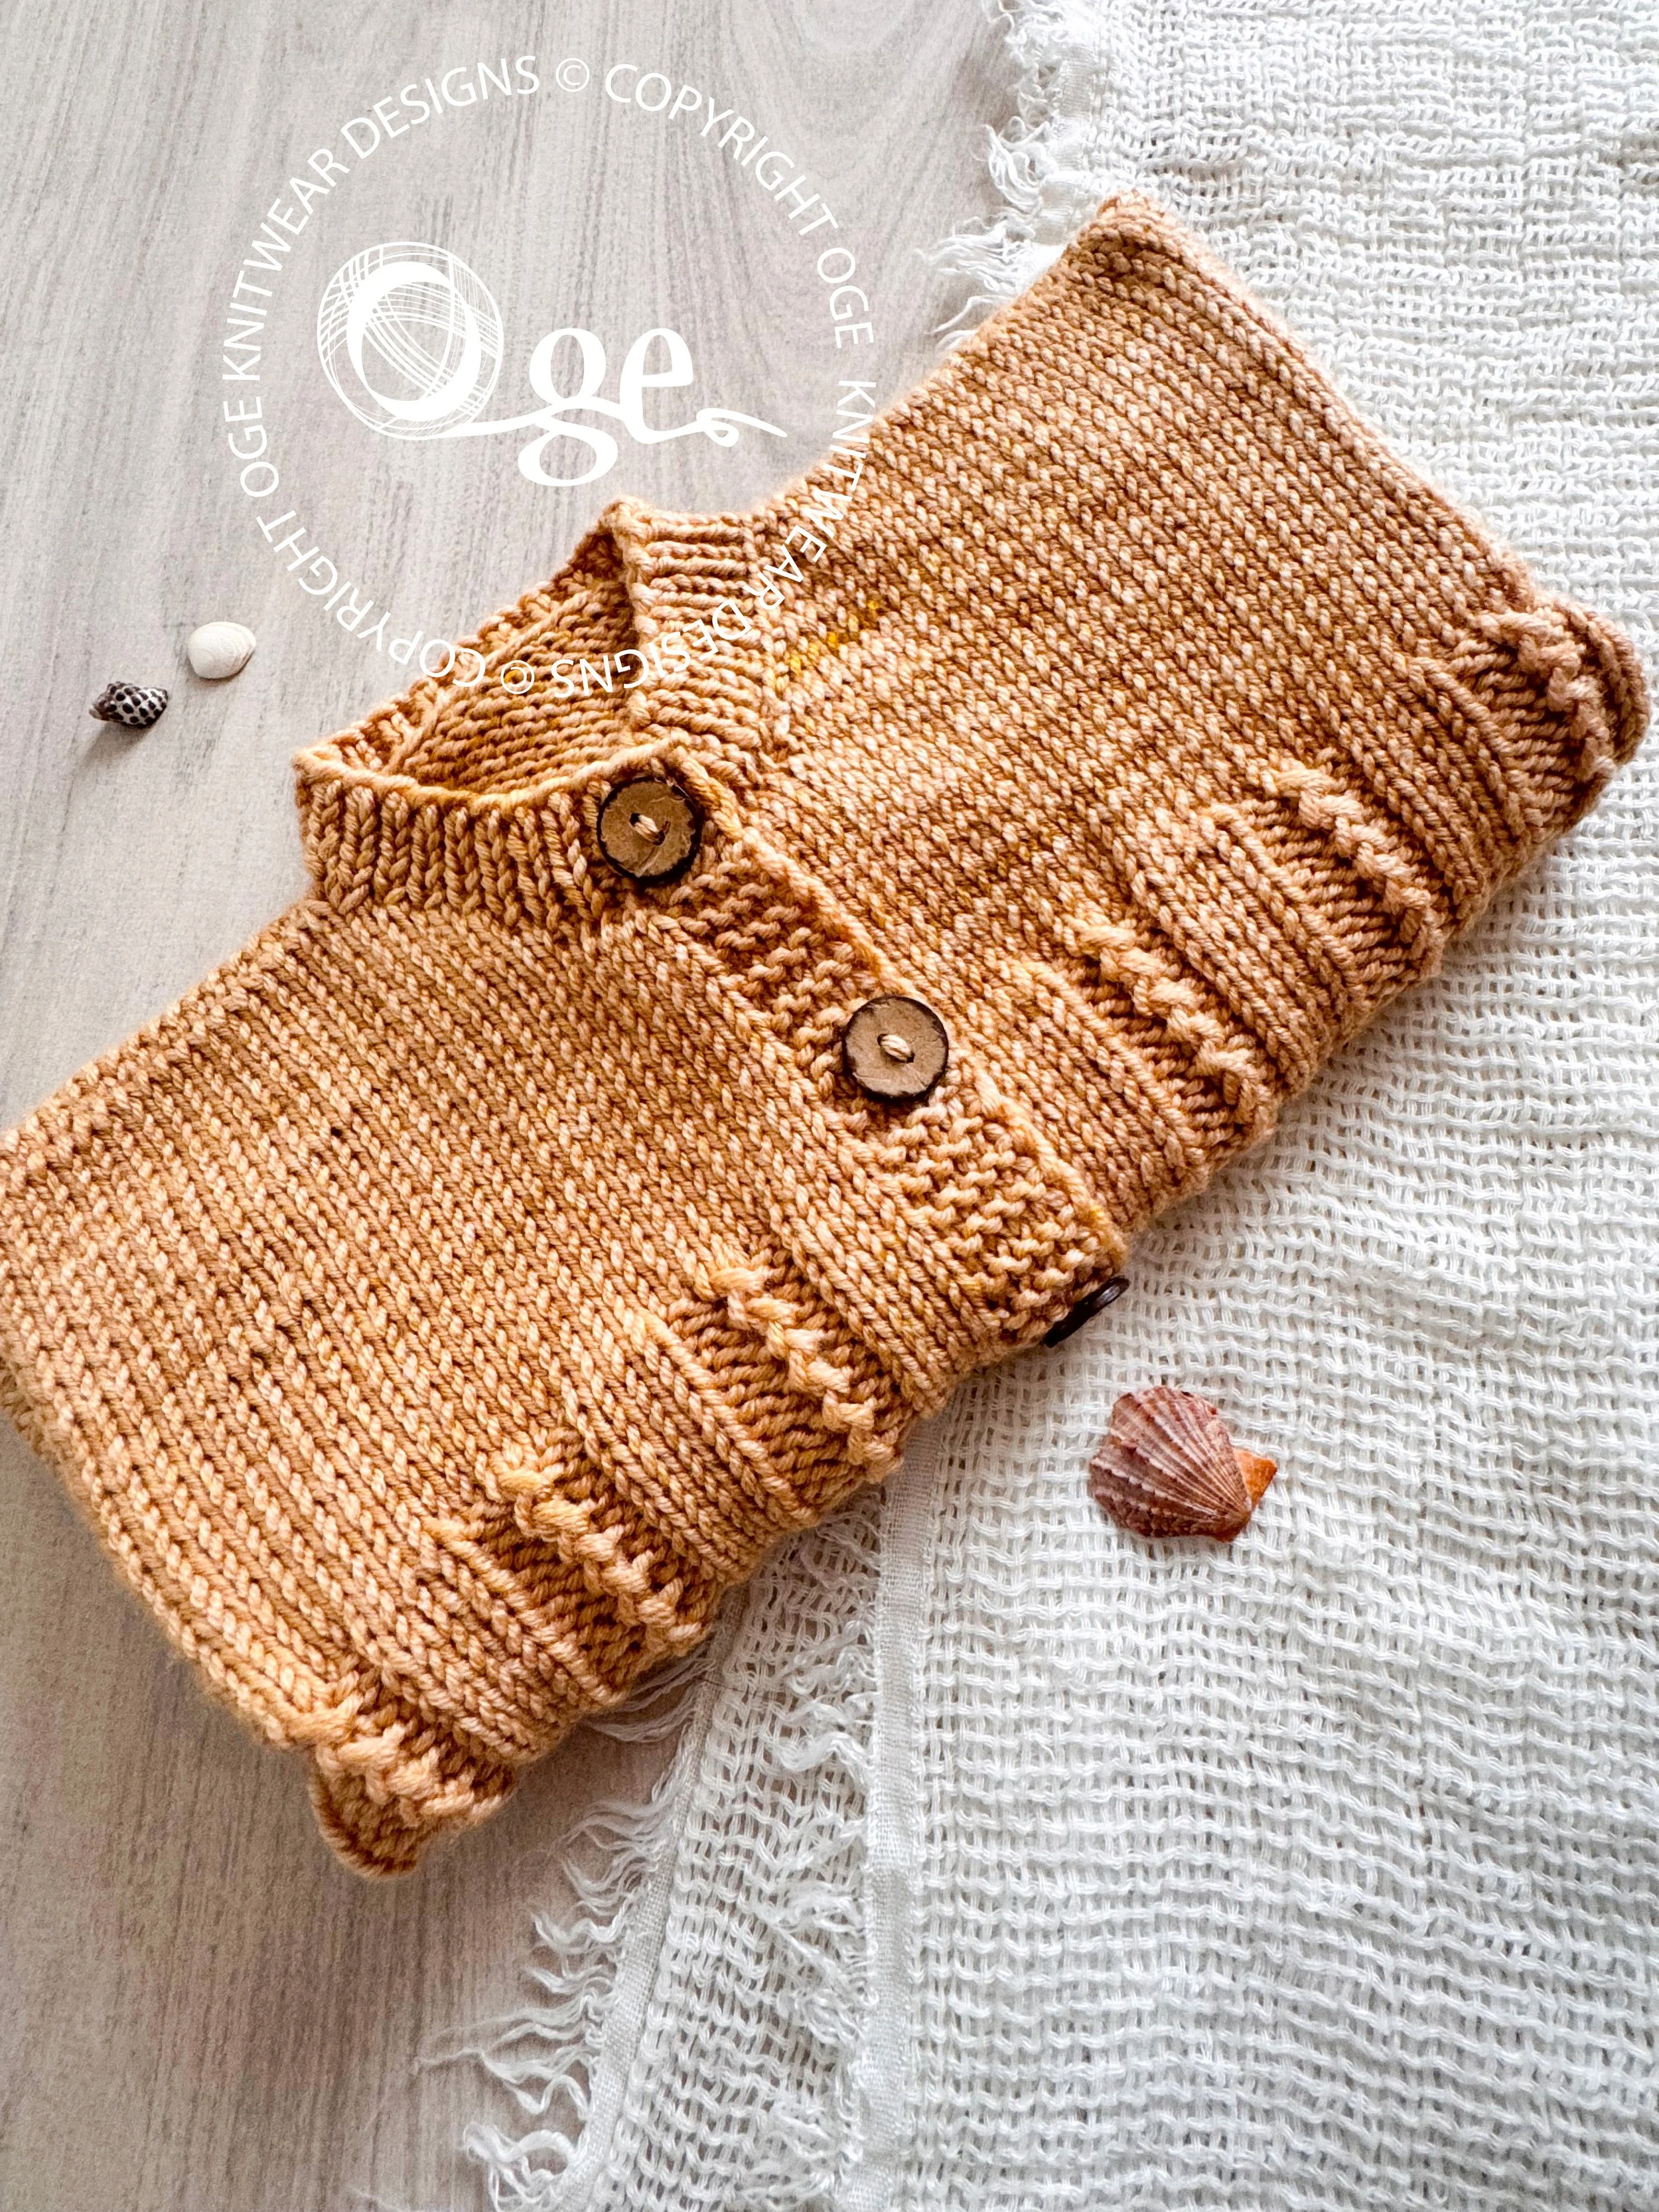 Image 10 of 12
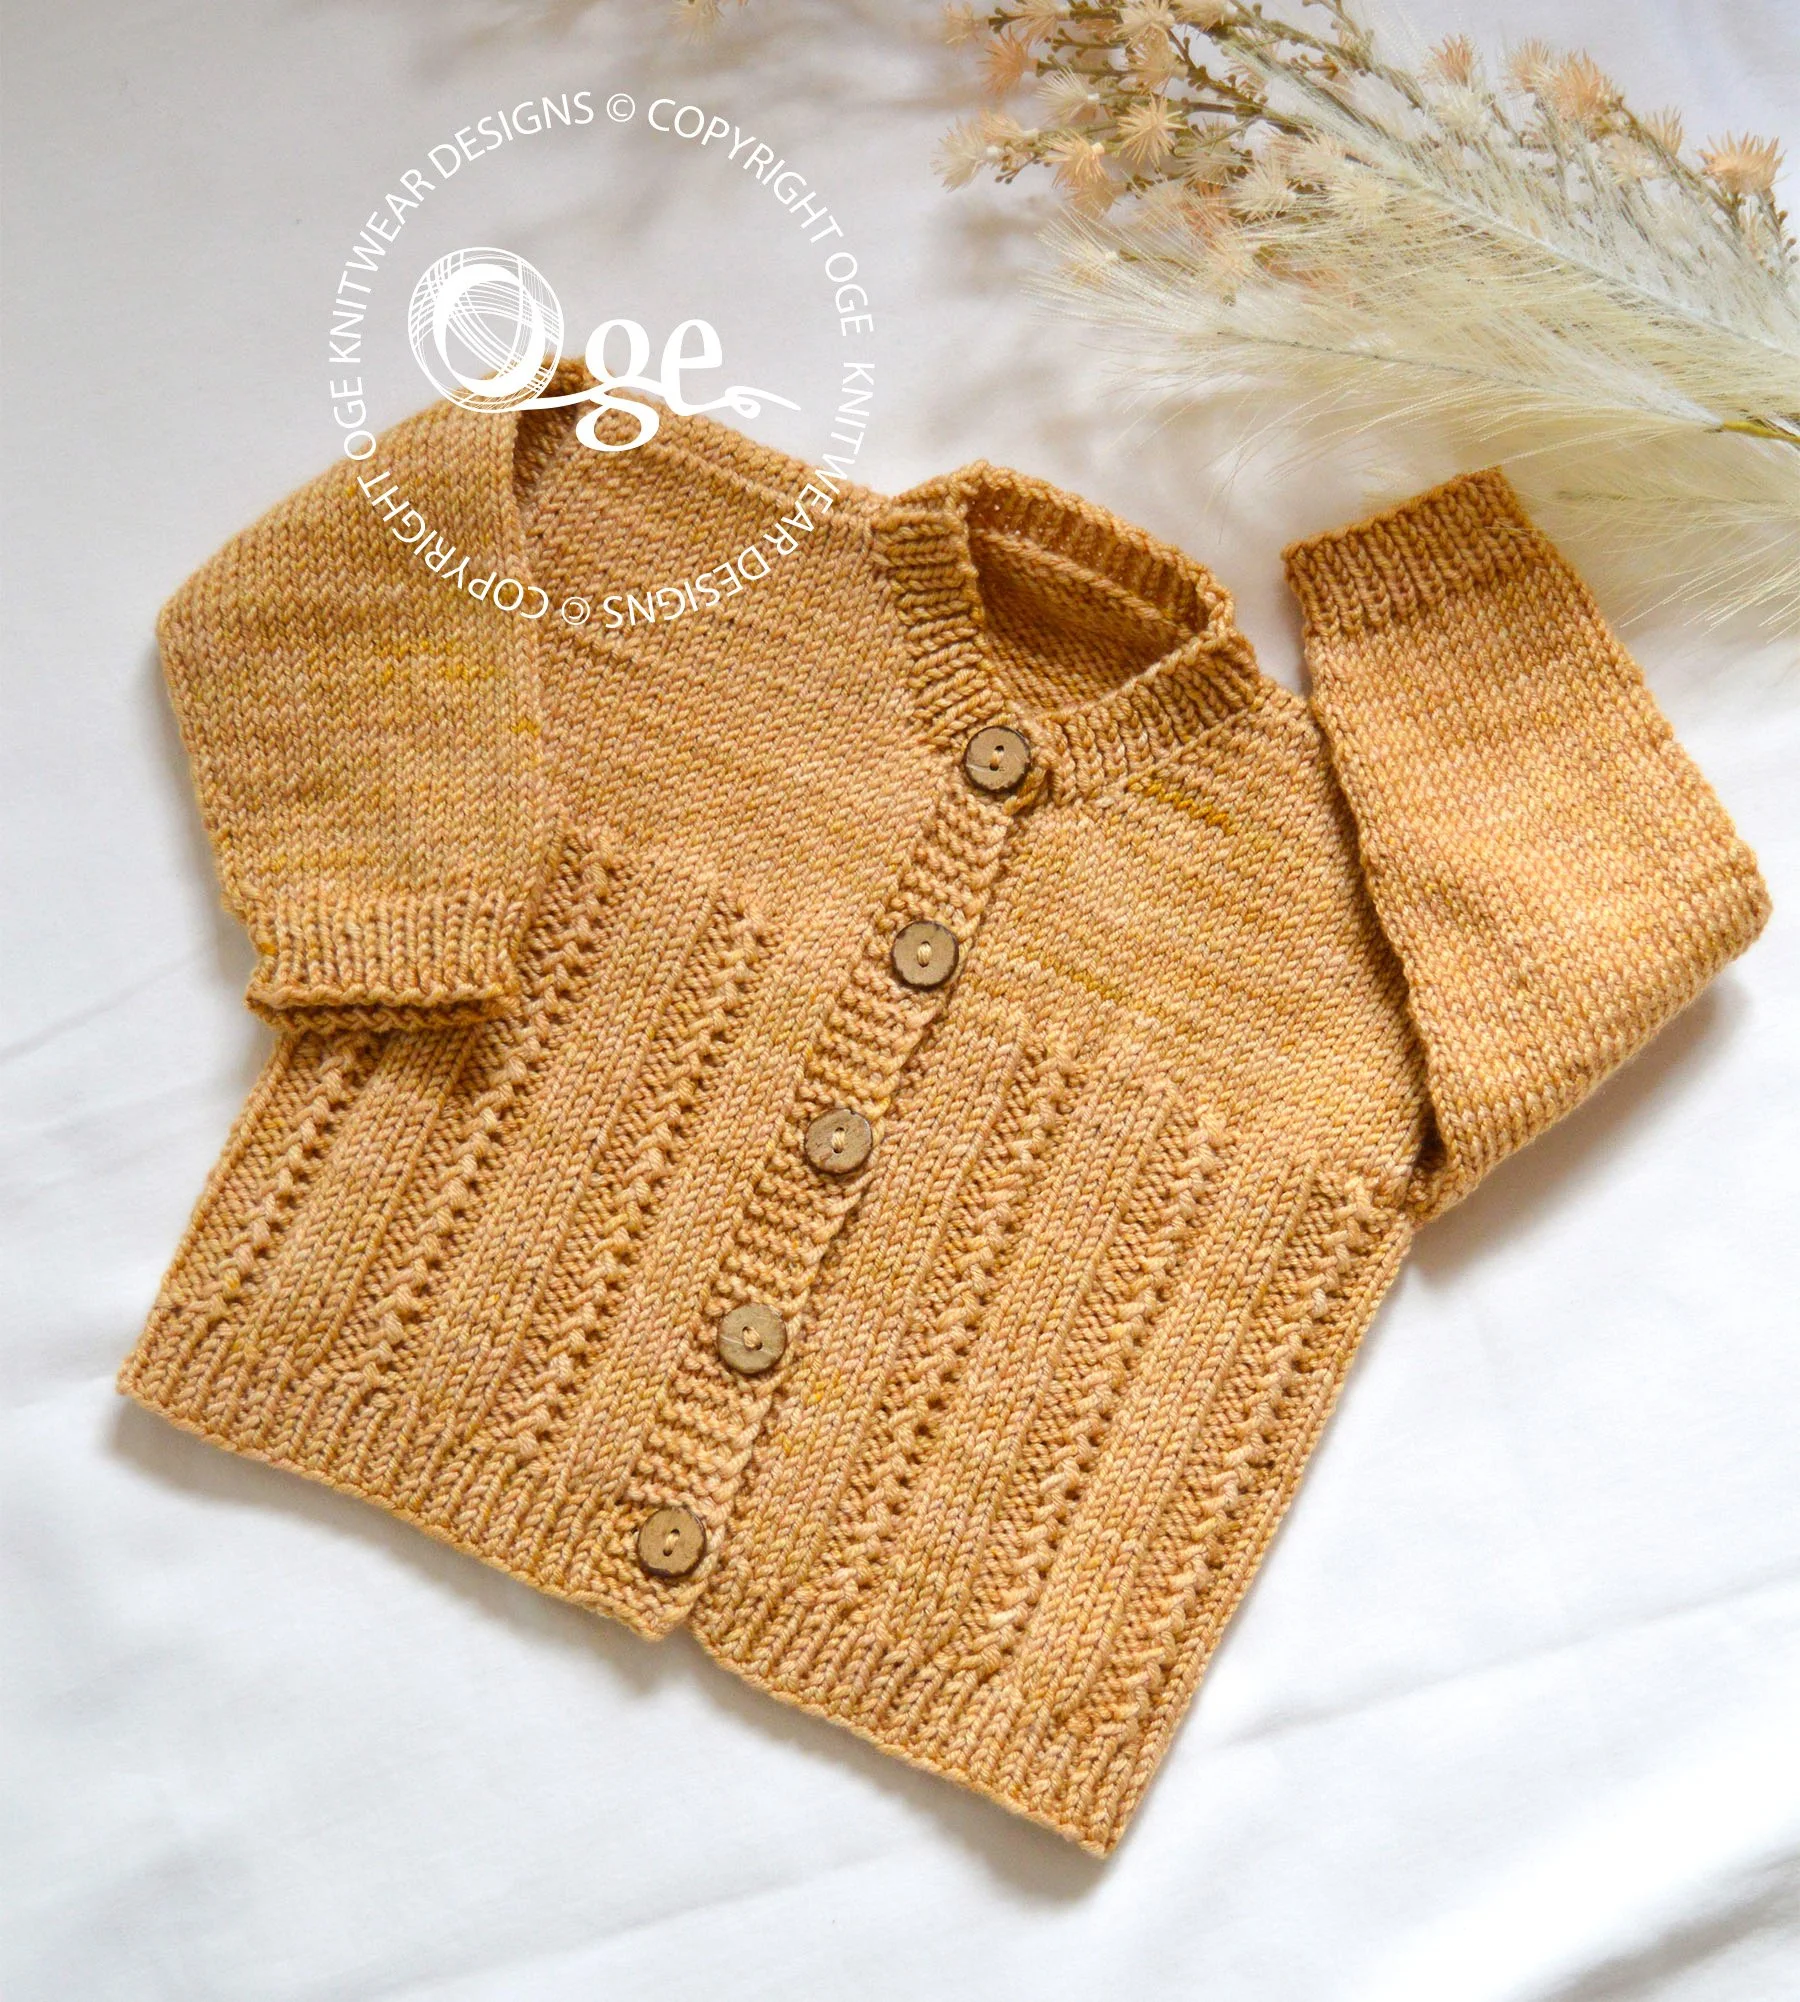 Image 11 of 12
 Image 12 of 12
SKILL LEVEL - Intermediate
SIZES
[A] -- 3 months
[B] -- 6 months
[C] -- 1 year
[D] -- 2 years
[E] -- 4 years
[F] -- 6 years
[G] -- 8 years
[H] -- 10 years
[I] -- 12 years
MATERIALS REQUIRED
(Featured in sandy version):
Glenheavenknits, Hand Dyed Natural Yarns. Sport weight, 70% Australian/NZ fine virgin merino, 20% silk & 10% Cashmere, Shrink resistant. 280 m/306 yd per 100 gram hank.
(Featured in blue version):
Lang Yarns Merino 150 – Colourway: Aster 115 m per 50 gram.
Lot/Colour: 197.0033/2823
[A] -- 108 grams / 300 metres / 330 yards
[B] -- 121 grams / 340 metres / 370 yards
[C] -- 143 grams / 400 metres / 440 yards
[D] -- 168 grams / 470 metres / 515 yards
[E] -- 208 grams / 580 metres / 635 yards
[F] -- 244 grams / 685 metres / 745 yards
[G] -- 283 grams / 790 metres / 865 yards
[H] -- 308 grams / 860 metres / 940 yards
[I] -- 341 grams / 955 metres / 1045 yards
NEEDLES REQUIRED
3.25 mm [US 3: UK 10] circular or straight needles for working the Neckband.
One set of 3.25 mm [US 3: UK 10] double pointed needles for working the rib band on Sleeves, alternatively, you could work the sleeves in the round using the ‘Magic Loop method’.
3.5 mm (US 4) circular needle, 40 cm (16 in) long
3.5 mm (US 4) circular needle, 60 cm (24 in) long may be required for the larger sizes to house the amount of stitches comfortably.
One set 3.5 mm (US 4) double-pointed needles for the Sleeves, alternatively, you could work the sleeves in the round using the ‘Magic Loop method’.
OTHER MATERIALS
2 stitch markers
6 [5 : 5 : 6 : 6 : 7 : 7 : 8 : 8] buttons
TENSION
24 sts x 30 rows = 10 cm (4 in) in stocking stitch with 3.5 mm needles.